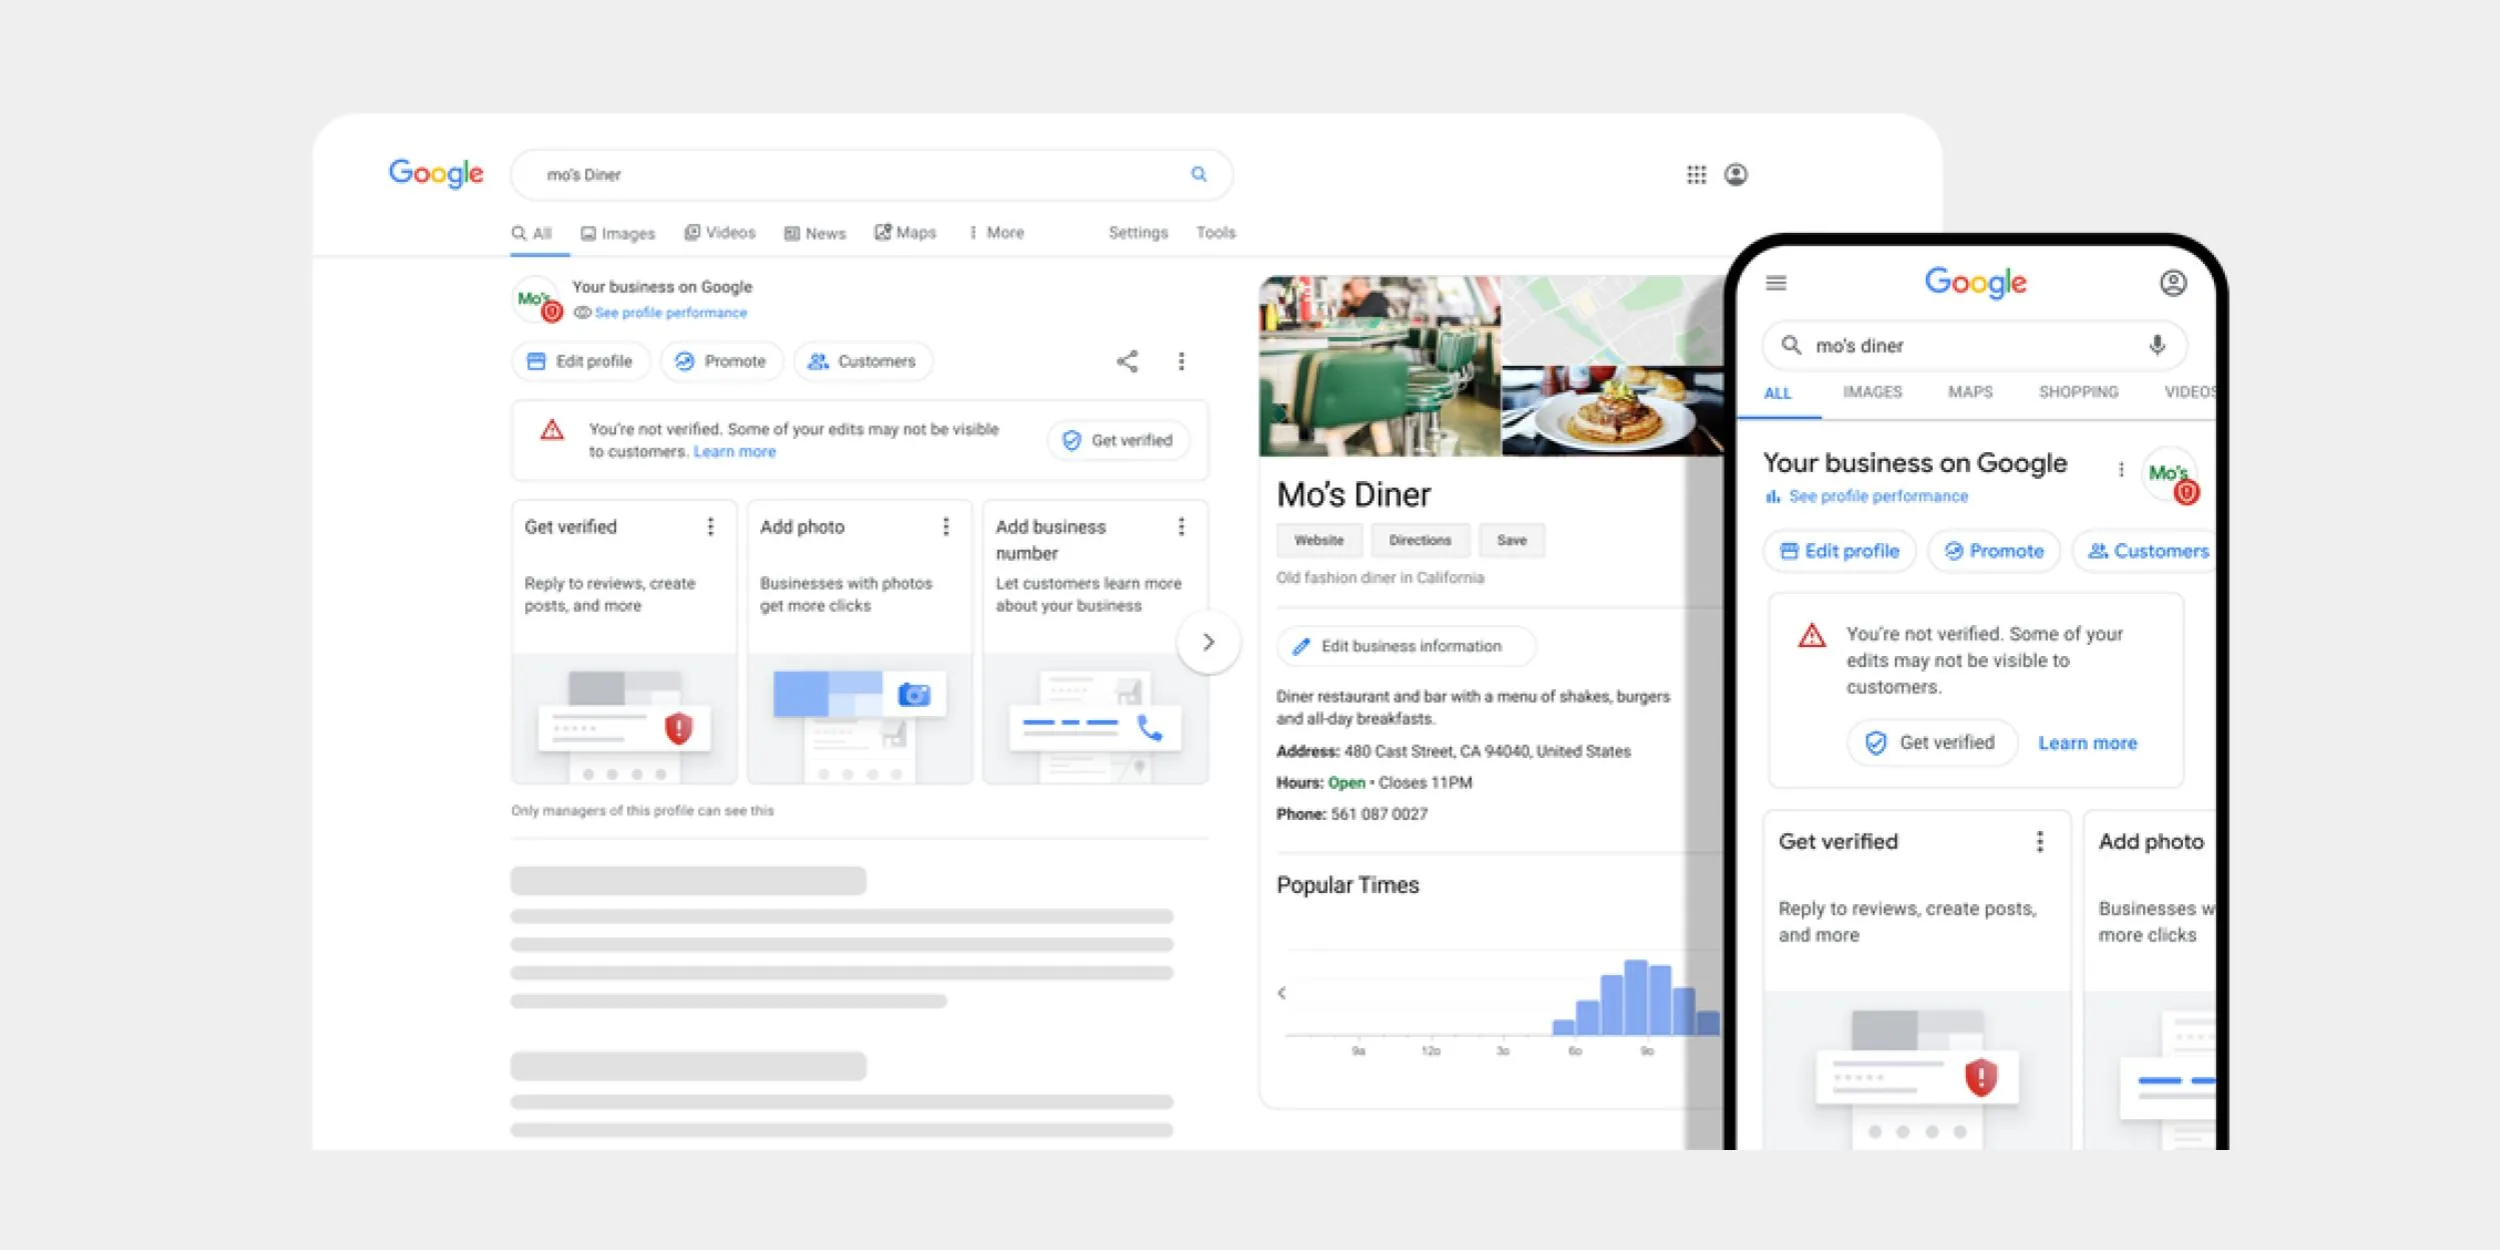
For any business owner, it is important to be present on social media networks, but besides social media, there are various other places where it is crucial for your business to be visible.
Google My Business is one of the platforms where every business owner should list their business. This is especially important if your business has a specific location.
Through Google My Business, you can gain many benefits, such as appearing in Google search results and being easily found by your customers when they search on Google.
To achieve this, I have brought you an article today that will help you set up your business directly through Google My Business. These steps are easy and quick, so make sure you follow this article from beginning to end. So without further ado, let’s proceed to this article.
TABLE OF CONTENTS
Creating a Google My Business Page
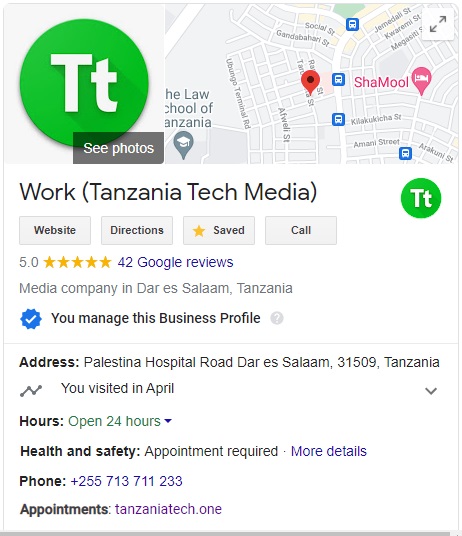
As you can see above, that is an example of Tanzania Tech Media’s Google My Business page. You can create a similar page by following all the steps below.
Important Requirements
Before you start, it is good to have the following requirements: These requirements will help you complete the registration process quickly.
- Business Phone Number
- Post Office Box
- Google Account (Gmail)
- Address of Your Business Location
- Important Information About Your Business
If you already have all these requirements, you can proceed directly to the steps of creating Google My Business for your business.
Steps to follow
The first step is to visit the Google My Business website. You can find the link below.
Create Google My Business Profile
After visiting that page, click on the Sign in section, which is located at the top right if you are using a computer or in the left-side menu if you are using a mobile device. Once you open that menu, look at the very bottom.
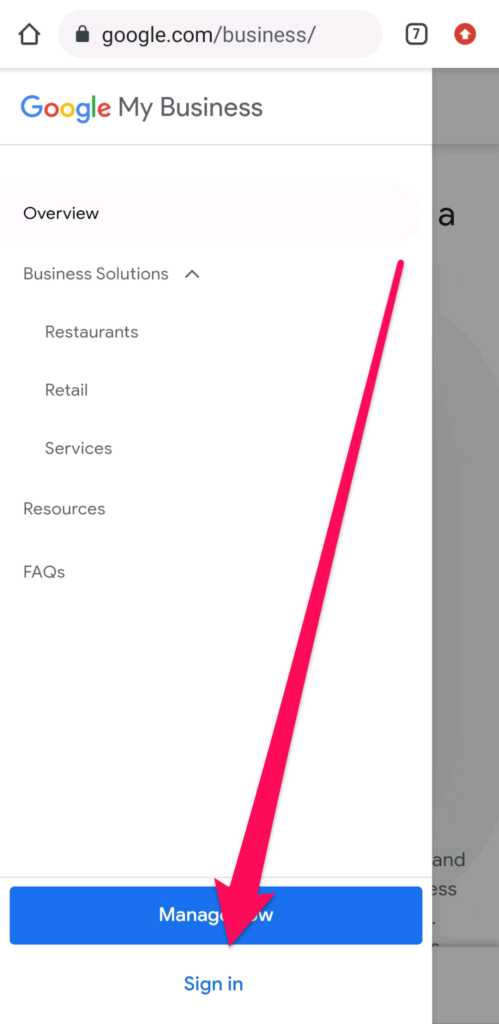
After that, you need to sign in to your Google account (Gmail), and once you sign in, you will be taken to a field where you need to enter the name of your business.
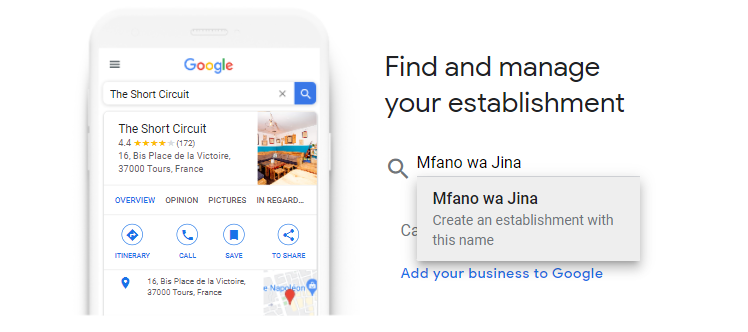
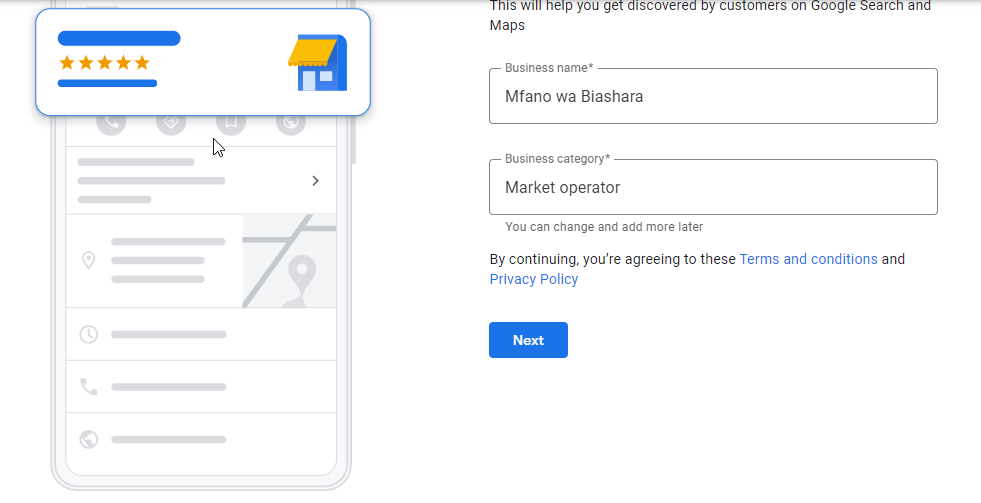
Write the name of your business accurately, and click below where the name appears after you finish typing. After that, you need to select a category for your business. This part is important to indicate what type of business you have.
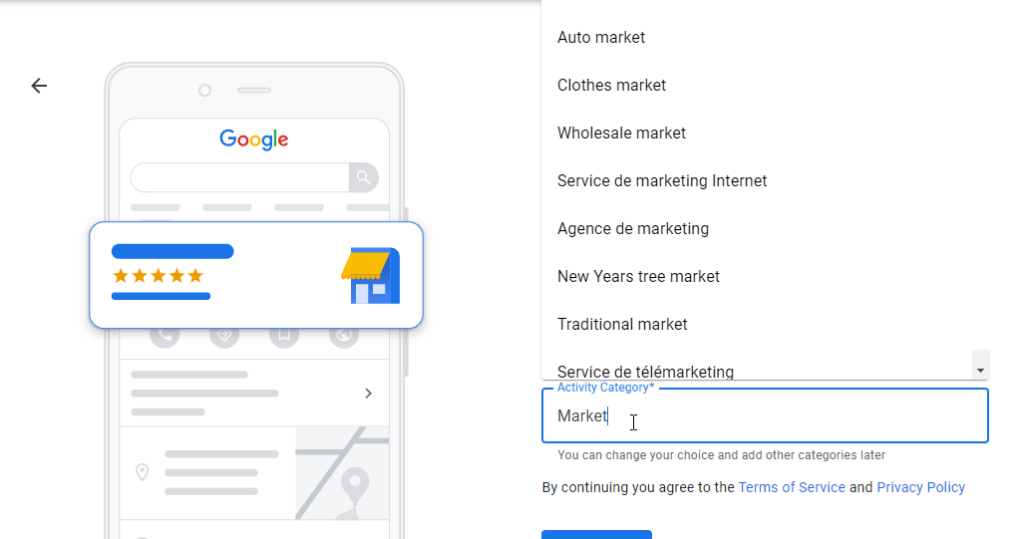
While you are typing the category, you will see various suggestions based on the word you entered. Choose a suggestion that matches the type of business you have selected. After selecting the category, click the next button below that information.
Next, you will be taken to another page where you need to choose whether you want to enter the location of your business. If you have a physical location, choose ‘Yes,’ and if you don’t have a location, choose ‘No.’
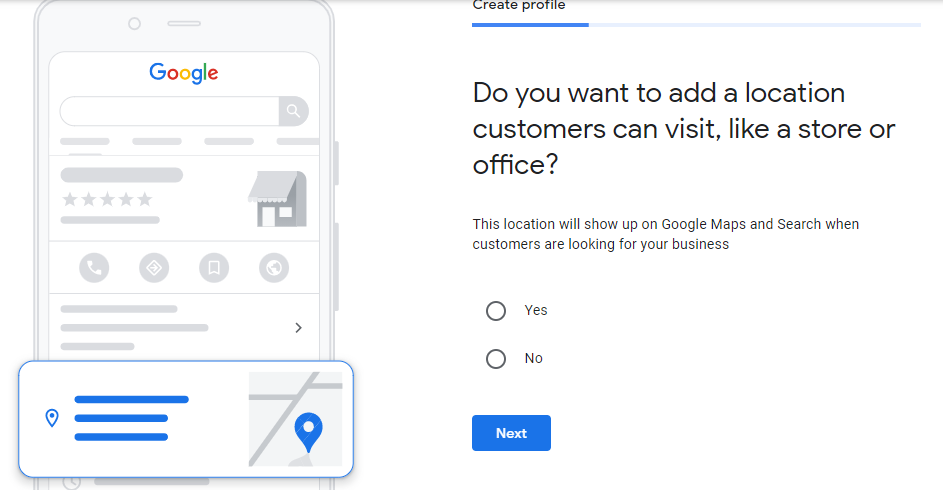
Google My Business is more suitable if you have a physical location because it will help you appear on Google Maps. However, this does not mean that you cannot create this page if you don’t have a business location.
It is important to note that the instructions from this point on may vary depending on whether you have a business location or not. For now, let’s assume you have a business location.
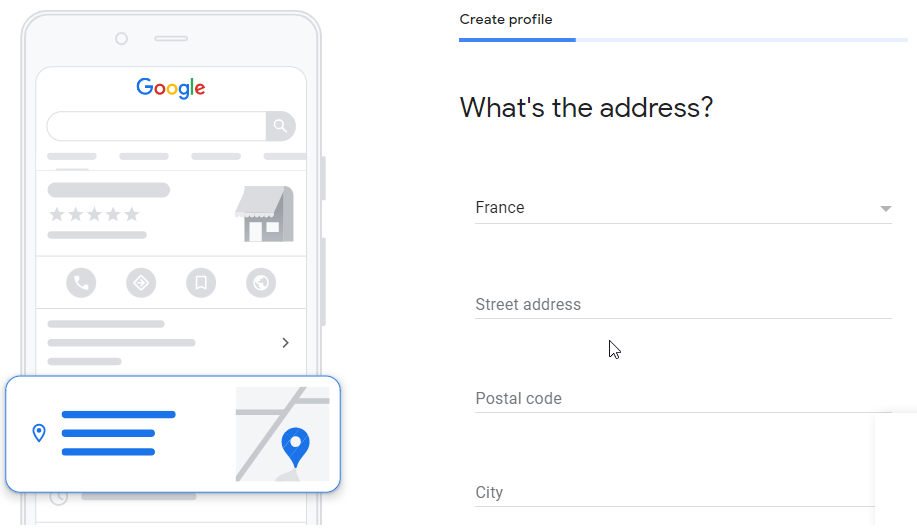
After selecting ‘Yes,’ you will be taken to the form above, where you need to enter the location of your business. In the ‘Street Address’ section, write the address of your business; for example, you can write ‘Kinondoni, Studio House Number 8.’
In the ‘Postal Code’ section, write the postal box number. This is crucial as it will be used to verify the location of your business, so be careful with this. In the ‘City’ section, write the region where your business is located, such as ‘Moshi’ or ‘Dar es Salaam.’
This will make your address look like this: ‘Kinondoni, Studio, House Number 8, Dar es Salaam, Tanzania
After entering that information, click ‘Next,’ and you will be taken to another page where you need to select the exact place where your business is located. Google will automatically choose a map based on the address you entered in the previous step.
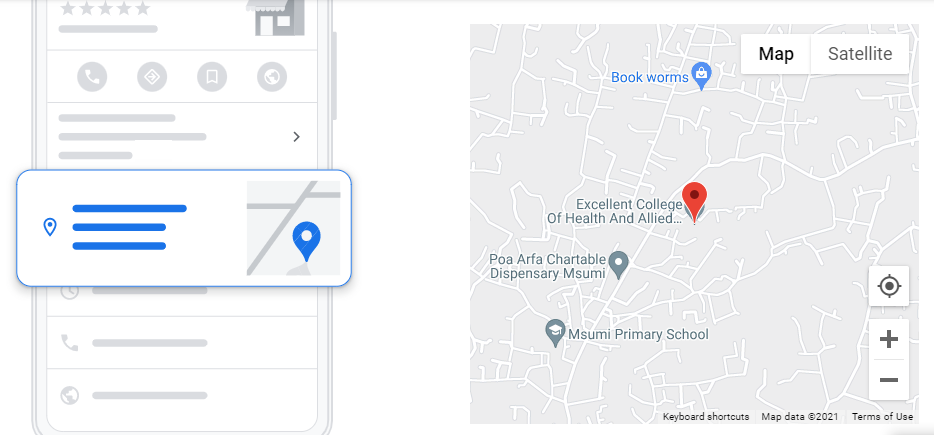
Make sure your business is located in the selected area, or you can manually choose and indicate your current location on the map.
After that, click ‘Next’ to proceed. The next step will ask you if you provide in-person customer service or if you offer service delivery. If the answer is yes, choose “yes”; if it is no, choose “no.’
Important Step
The important step is to enter your phone number and website. This is important because Google now uses phone verification as the main method to verify your Google My Business page. Therefore, it is advisable to provide your business phone number and website.
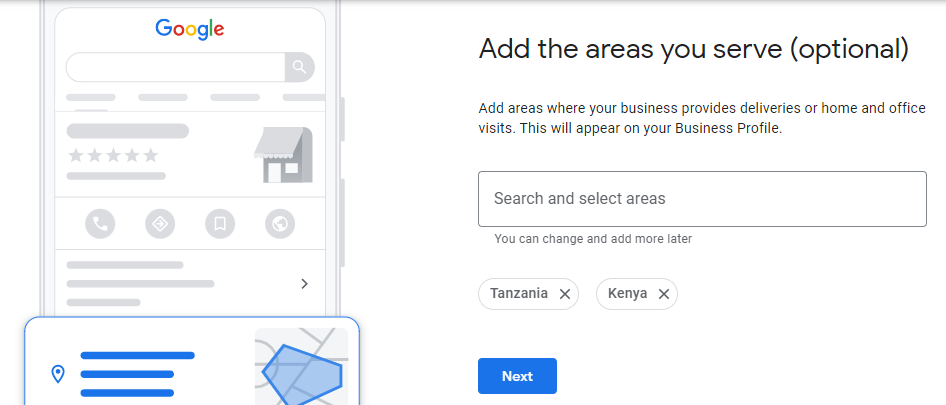
The next step will ask you about the areas where you provide your services. In this section, you should enter nearby areas, or if you provide services nationwide, simply write ‘Tanzania” and then click ‘Next.’ Remember, you can choose more than one area.
Please note that this step is optional, and you can skip it and proceed to the next steps.
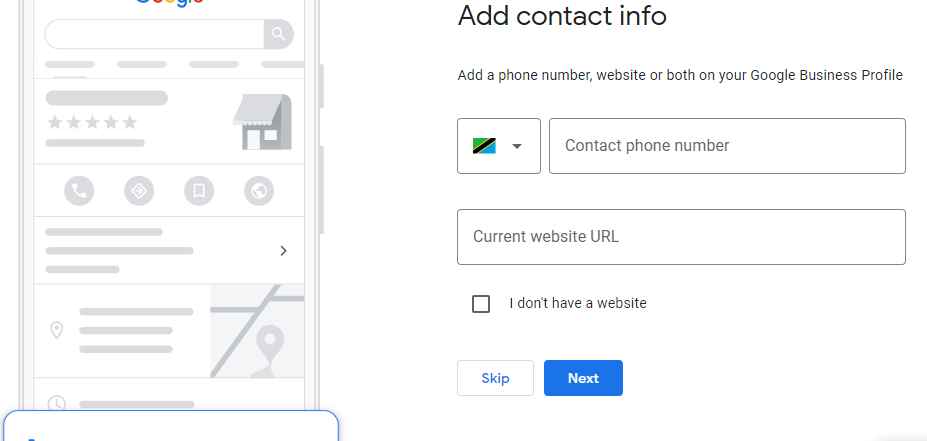
After that, click ‘Next,’ and you will be taken to a page where you need to provide your contact information. Enter the phone number that customers can use to contact you, and if you have a website, enter it. If you don’t have a website, you can create one for free right there.
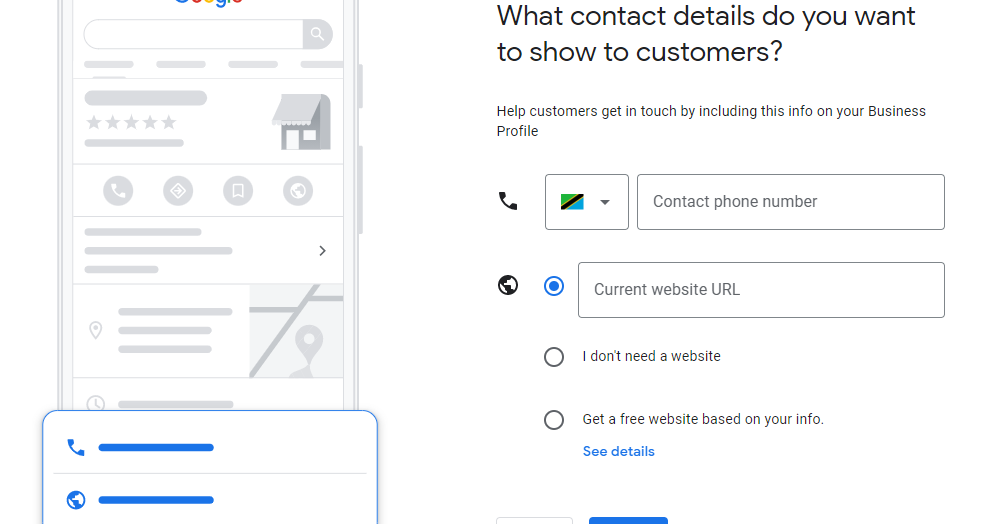
After that, continue by clicking ‘Next.’ You will be asked to select the days when your business is open. If you don’t want to fill this out at the moment, click ‘Skip.’ You will also be given a section to provide information about your business. If you don’t want to fill it at the moment, click ‘Skip.’
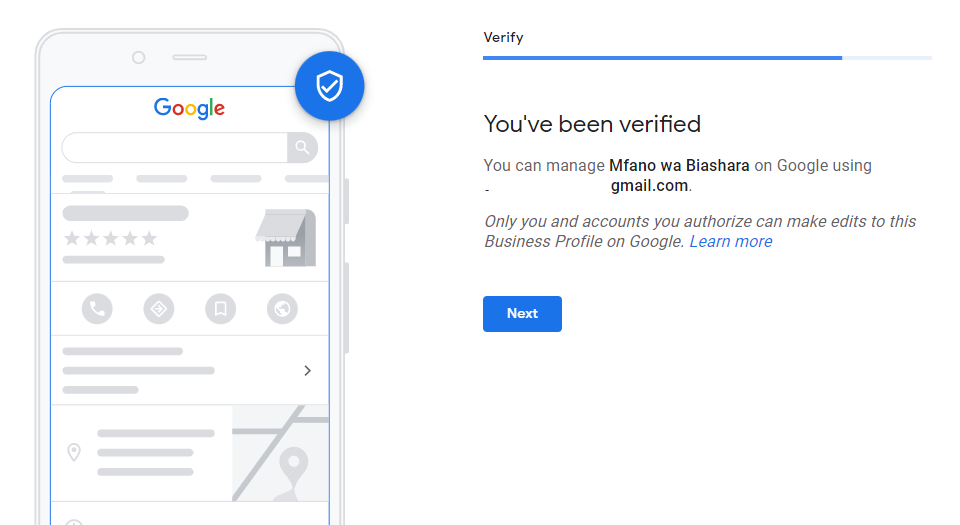
After that, follow the instructions until the end, and you will have your Google My Business page. If you want to get your page quickly, make sure you provide an available address, and then you will have your page without any verification.
Conclusion
I understand that there is a lot of information, so if you get stuck anywhere, feel free to contact us or leave a comment below. The important thing is that if you want to run your business through Google My Business, you need to search for the name of your business, and you will be able to modify or add anything to your Google My Business page.

